This is my second card, the background was embossed paper that I brushed my ink pad over to highlight the embossed parts. The flower background was paper printed with a neutral black and gray design, and I colored it in with copic markers. If you have pattern paper don't be afraid to change it up by adding your own color. I usually like to add glitter to highlight points of interest. Next I layered some die cuts and put it together with a brad, then pop dot it to the card along with a pop dot sentiment.

Next I did two 12x12 layout with pattern paper. I made these layouts without any pictures in mind. I hope to find some that fit this color palette. With this layout I used some coordinating lace and ribbon that matched the color scheme.

I added three rows of lace to the side of the mating then added hand punched butterfly's in the layers. On the bottom of the mating I added a chipboard word with brads.

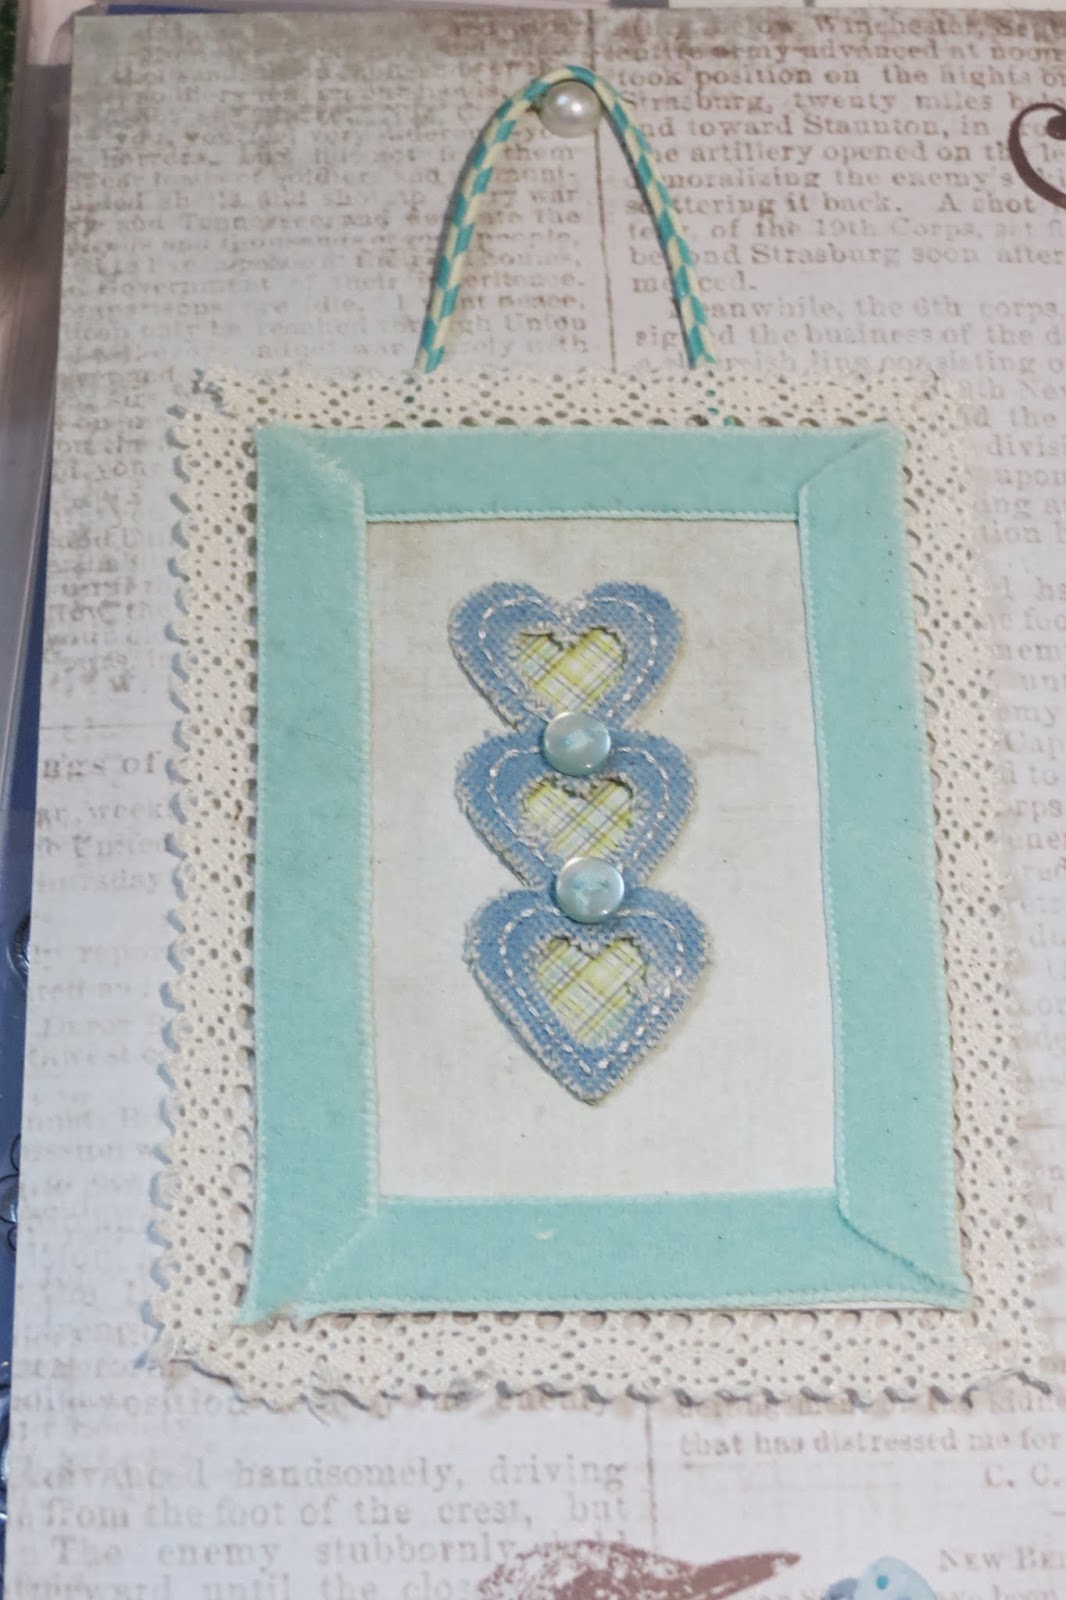
This is my favorite part. I had only one small piece of paper left, not enough for matting. so I made my own embellishment. I mitered the corners of the ribbon and adhered it to the front of the paper. Then I mitered the corners of the lace and adhered it to the back of the paper. Now for the inside you can put anything in it a small pic, ticket stub or you could do what I did. I found a fabric sticker in my stash that matched perfectly. then topped it off with some bakers twine and a brad.
The last thing I did was hand punched out the butterfly two times and adhered it with pop dots and tied some bakers twine to make the body.

And this is my last layout. I had some paper flowers that came in a kit, and I never know what to do with them. They come flat in plain, not my idea of a flower. so I inked the edges and the next thing I did might shock you! I made paper balls out of them. After you unroll them you have a flower with dimension, then add a brad and wala you have some amazing flowers.

Do you remember the all the paper I started out with? Well this is what's left. Not to bad, and ready to go in the garbage.

Thanks for reading and have a crafty day
Kristi


