Sunday, February 16, 2014

Simple Valentine

I hope everyone had a nice valentines day. Here in Illinois we had an unexpected snow storm, so my husband and I decided to stay home. He grilled some New York strip steak, bottle of wine and some old moves on T.V. It was a simple valentines night that I love so much. It was a simple night that went hand and hand with my valentine cards. I did not want to share my cards tell after valentines day because I did not want my family to see the cards before I gave it to them.   


This first card is an A2 with red trim background cut at 4 X 5 1/4. The white layer is cut at 3 3/4 X 5. And is embossed with the cuttlebug heart folder. The stamps I used all the cards are from My Creative Time Lots of Love Stamp Set. I love how the stamps have script and typed words.  


  •  For the next two cards I have the same measurements. I was digging through my valentine stash and found some stitched  hearts. All I did was placed the hearts randomly on the card and stamped the sentiment.


This last card was so much fun to make. First I took double sided tape,cut it to look like banners. Then applied  Elizabeth craft glitter and then colored in with Copic markers. The hearts are stamped with memento ink.

Now on to my next project. Thanks for reading and have a crafty day.

Kristi

Saturday, January 18, 2014

I have been working hard on my challenge. I might not have completed a project in a day but I did some creating everyday. And I would like to share with you what I have accomplished. If you remember I took some leftover scraps from past projects and I planed to use them up.

This is my second card, the background was embossed paper that I brushed my ink pad over to highlight the embossed parts. The flower background was paper printed with a neutral black and gray design, and I colored it in with copic markers. If you have pattern paper don't be afraid to change it up by adding your own color. I usually like to add glitter to highlight points of interest. Next I layered some die cuts and put it together with a brad, then pop dot it to the card along with a pop dot sentiment.
  

Next I did two 12x12 layout with pattern paper. I made these layouts without any pictures in mind. I hope to find some that fit this color palette. With this layout I used some coordinating lace and ribbon that matched the color scheme.  


I added three rows of lace to the side of the mating then added hand punched butterfly's in the layers. On the bottom of the mating I added a chipboard word with brads.


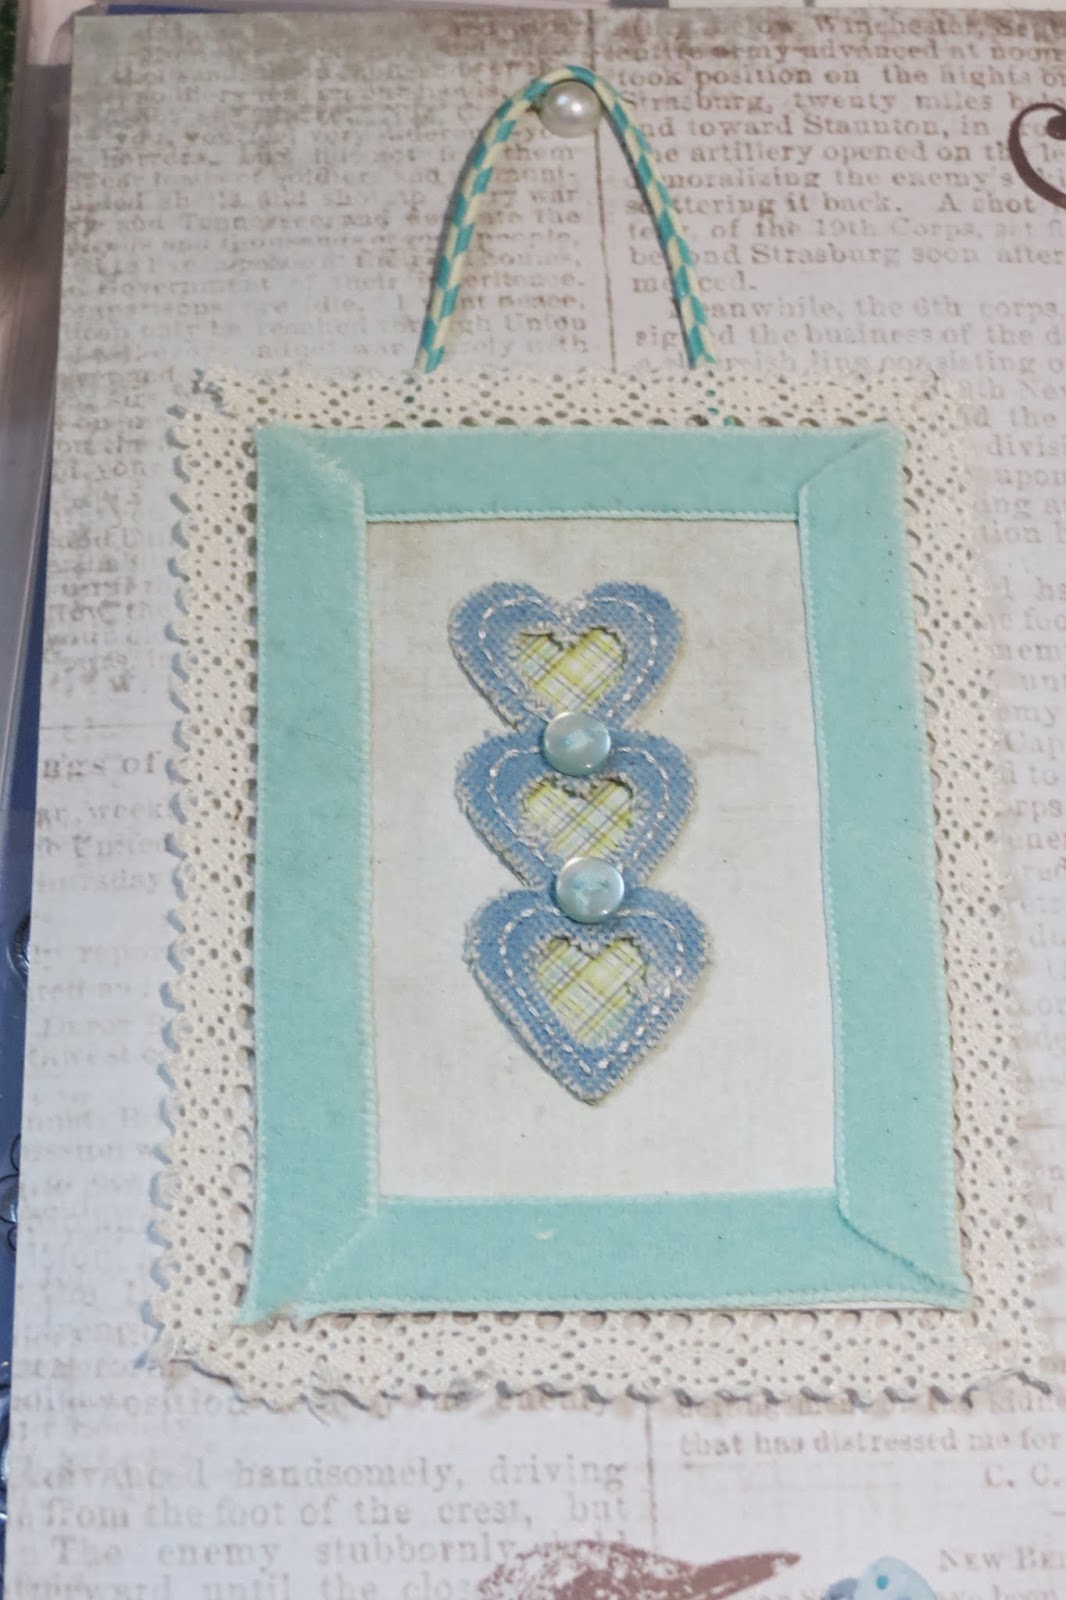
This is my favorite part. I had only one small piece of paper left, not enough for matting. so I made my own embellishment. I mitered the corners of the ribbon and adhered it to the front of the paper. Then I mitered the corners of the lace and adhered it to the back of the paper. Now for the inside you can put anything in it  a small pic, ticket stub or you could do what I did. I found a fabric sticker in my stash that matched perfectly. then topped it off with some bakers twine and a brad.  

The last thing I did was hand punched out the butterfly two times and adhered it with pop dots and tied some bakers twine to make the body.


And this is my last layout. I had some paper flowers that came in a kit, and I never know what to do with them. They come flat in plain, not my idea of a flower. so I inked the edges and the next thing I did might shock you! I made paper balls out of them. After you unroll them you have a flower with dimension, then add a brad and wala you have some amazing flowers.
  

Do you remember the all the paper I started out with? Well this is what's left. Not to bad, and ready to go in the garbage.


Thanks for reading and have a crafty day 
Kristi


Thursday, January 2, 2014

Happy New Year!!!

2013 has been a year of many changes for me. First I started this blog to share my love of crafting, then I started a new part-time job. And in August I started full-time. This gave me little time to craft or to blog. So I have made a new years resolution to leave work at work, and craft some every night. 

Some of the blogs that I follow have made a commitment to do a project a day with mapping of the projects for the month, so you could follow along and do the projects with them.

I too have a plan to do a project a day but I will not have a set schedule. For Jan 1st my project was to clean my craft room :) 

 so in the process of cleaning I found my mission..... I am going to see how many projects I can do with all the products I have on hand. Similar to my posts on scraps I found Saturday. 

I will take a picture of some paper and embellishments, it might look like a hodgepodge but I will show you how to make some cards layouts and crafts with it.   
First sorry about the bad picture. I was so excited to start making something I just snapped a pic and started working. This is leftover paper from a layout I made of my nephew. The papers are rock-it ruby nature line and some authentique paper. 
So today Jan 2nd and my first real project is a card. The bird is on the nature paper line from rock-it ruby paper cut at 3x5, and the music paper in the background is cut at 4x5 and is on a card base of 4 1/4 x 4 1/5. I used copic  markers to color in the bird and leaves. The sentiment is from Heartfelt Creations.    
Thanks for reading and have a crafty day.

Tuesday, July 30, 2013

My Minds Eye Layout


Today I am sharing with you a layout I made for the My Minds Eye Challenge. You can find MME blog here. MME is one of my favorite paper companies. And because I have so much of their paper I thought I would try my hand at this months challenge.

I used MMY washi tape on the left side, I thought the colors went well with the layout but It had one section with pink. So I just cut out the pink made a space and put a chip board embellishment in its place.

On the right of this pic I used two different washi chevron taps cut in half and put back together. This is my nephew Trevor helping me color Easter eggs. If there is a messy way of doing things Trevor and I will find a way to do it. Also That is my husband in the background doing the dishes. :)

The last pic is Trevor showing me he was a scary lion. All I did for this part was cut paper at different lengths and widths, then layered them. 

Thanks for looking and have a crafty day.

Kristi 


Monday, July 29, 2013

Day Two Christmas in July with Xyron

Staying with the vintage theme, I decorated an antique spool with some ribbon and burlap. I found this spool at a garage sale for only $1 I had no idea what I was going to do with it but I knew I could not pass it up. 

First I took the Xyron Photo Mount Tape and placed it on the back of my ribbon. Then I cut the ribbon in three pieces to fit the bottom of the spool.  
Then I tied a bow with burlap and hot glued a fabric flower and a charm onto the bow. What I like about the Xyron adhesive on this project is that it's strong enough to hold everything in place for as long as I need it. But I can take it apart without damaging the antique spool.    

I then added a stick pin with some vintage pearls. My daughter told me it did not look like a Christmas decoration to her, with having a butterfly on it. I told her it was all about the presentation.   

Lauren said this was a little better. 

 
One last thing. I have to share with you my first craft tool I ever purchased. It was this hot glue gun. It is 22 years old and still works great. Although there are days I wish I had a cool temp gun.

Thank for reading and have a crafty day

Kristi  


Saturday, July 27, 2013

Christmas In July with Xyron

It's been a while since I last blogged. My part time job has turned in to a full time job for the summer. So by the time I get home it's hard to get into the crafting mood. 

As I was looking at other blogs this last week I was seeing a lot of Christmas in July projects and it gave me some motivation to get crafty. But first I had to clean my studio, and in the processes I came across all of my Xyron adhesives. So the inspiration hit me. I should share with you my love of Xyron and Vintage Christmas decorations.
Today I am making a Christmas Box. I cut a strip of paper 1 1/2 in wide and long enough to go around the box. And once again I am using My Minds Eye, Lost and Found Two Paper.
I ran the paper through the Xyron sticker maker. This will cover the entire back of the paper and will stay nice a snug on the round box.
I took my bone folder and burnished the edges of the paper. Then I pulled the plastic off and I just made a giant sticker.
 I did the same processes for the felt ribbon, and put it around the lid of the box.
I punched a circle for the top of the lid.
There was a small space so I ran the rope through the sticker maker. This is so much easier than using wet glue. I used red for the pictures because it shows up better. But I really like the off white for a more vintage look. 
I am not done with it I still would like to make a bow under the tree but I don't have the right ribbon. And I would like to hot glue some pearls on the tree.
This picture doesn't do it justice but I painted the ends of the branches with Glue-N-Seal then put dry glitter Clear Rock Candy on the glue. In real life it looks like icicles on the tree.    

Thank You for looking, and have a crafty day.
Kristi


Monday, July 1, 2013

July Banner with BoBunny Anthem Paper

Today is a busy day at our house, It is my parents anniversary and my mother-in-laws birthday. Happy day to all!

I have been trying to share this project with you for several days but the sun has not been cooperating. So when I woke up this morning and saw the sun I jumped out of bed and started taking pictures. My kitchen is on the north side of the house so the lighting is not that great even with the sun out.
I started this banner with the star shaped chipboard books from the dollar bin at Micheals. I painted them using Tim Holtz picket fence distressed paint. And when dry I used the distressed ink brick red and stormy sky. Then I inked the edges with vintage photo and did a quick swipe over the whole star to give is a vintage look,


Next I used my Cricut and the Ribbons and Rosettes cart to make the star shaped rosette. I used some old paper that I have know idea where I got it but I thought it matched the BoBunny Anthem paper. Then I used the Sizzix large rosette die to cut the BoBunny paper.

I was going to spell out July 4Th on the stars but when I saw the BoBunny Trinkets I knew they had to go on instead.
I think this made this project complete.
Finally I used the Sizzix framleits swirl die to make embellishments for my stars.


This last star I made is with the chipboard stickers from the Anthem Collection. 

Thank You for reading and have a crafty day!
Kristi