Saturday, March 30, 2013

Scraps I found Saturday

I can't believe I let a week go by without posting! It has been a busy week, getting ready for Easter and I started back to work. It is going to take awhile to get back in the grove of things. I needed to do some Easter bags for the kids, yes they are 18 and 16 but they still expect something. I saw this idea on pintrest and I thought I had the perfect Peachy Keen Stamp for the face but I could not find the stamp so I did some free hand drawing.

First I cut white card stock with Tim Holtz Alterations Ornamental die.

And my free hand bunny face. I am not good with drawing. That is the reason I like paper crafting.

Next I cut a white 3" oval and a 2" pink oval with the Cricut George Cart, and layered like so.

Then fold in half and cut slits for the ears.

Glue the inside shut and the ears should stay in place.


Tape on to bag and you have a easy bunny treat bag.

Don't forget your bunnys tail.

Thank you for reading and have a crafty and happy Easter day.


Saturday, March 23, 2013

Scraps I found Saturday

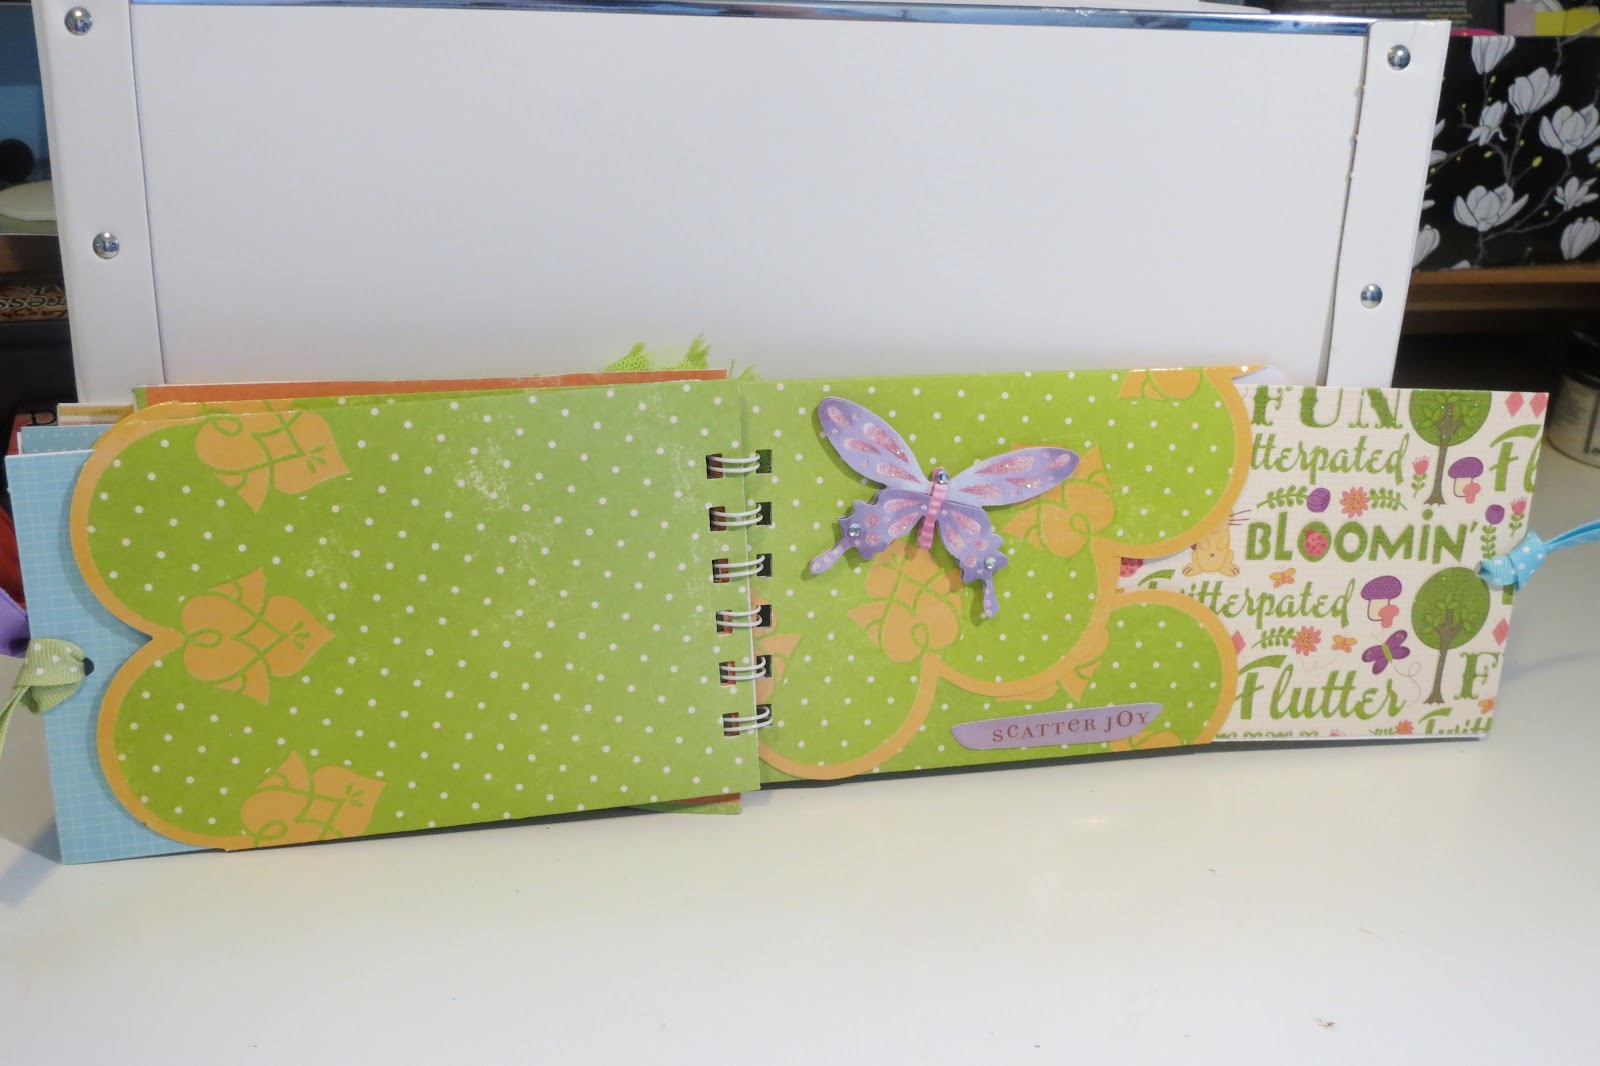
Good Day!! I have had a busy week and did not make anything new, but I have a project that I made while cleaning up my craft room. And yes it is another minni album. And used the Spring Cricut Cart for the word spring.

I found some decorative shaped 12x12 paper, similar to this one.


All I did was cut the paper at 6" and then scored at 4" & 8"

I folded the flaps and taped shut, then used my Bind-it-all to punch holes. If you don't have one you can use a paper hole punch and hold it with rings.

Now you have a pocket to hold a tag.

Lots of room for journaling.


You can put your pictures on the front and back of the tag.

This would be a nice album for Easter. I might use it as a giveaway. Tell me what you think.

Thanks for reading and have a crafty day.


Tuesday, March 19, 2013

Callenge Tuesday

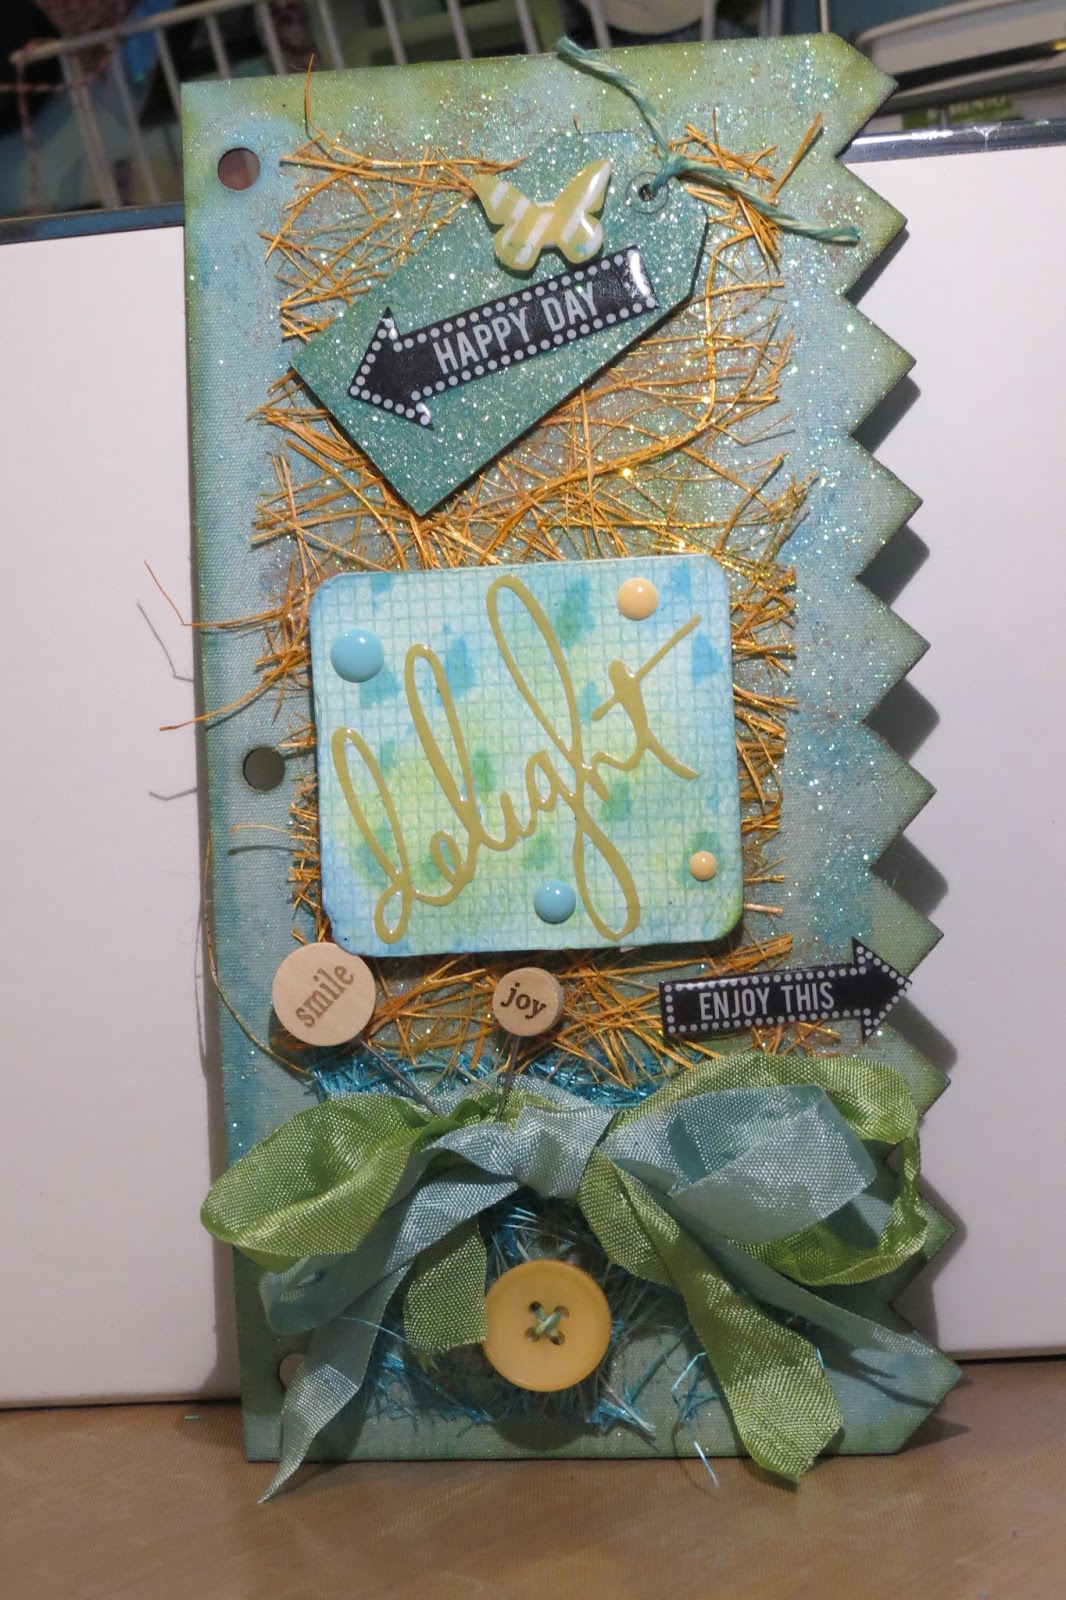
Good Morning  today I have made the front and back cover of a mini album. I used Heidi Swapp's new wooden album covers. She is having a challenge on instagram, and the winner will get her line of Color Shine. My instagram name is @undercover_sc.

I used Tim Holtz Distressed Paint and Stain to distressed the front and back panels. The front panel has a fabric style covering. So I needed to use my Glimmer mist to make the paint and stain more pliable. H.S. Color Shine would work great with this but I don't have any.

This is the inside of the panels. This is more of a wood grain. The Glimmer Mist gives it a nice sparkle.

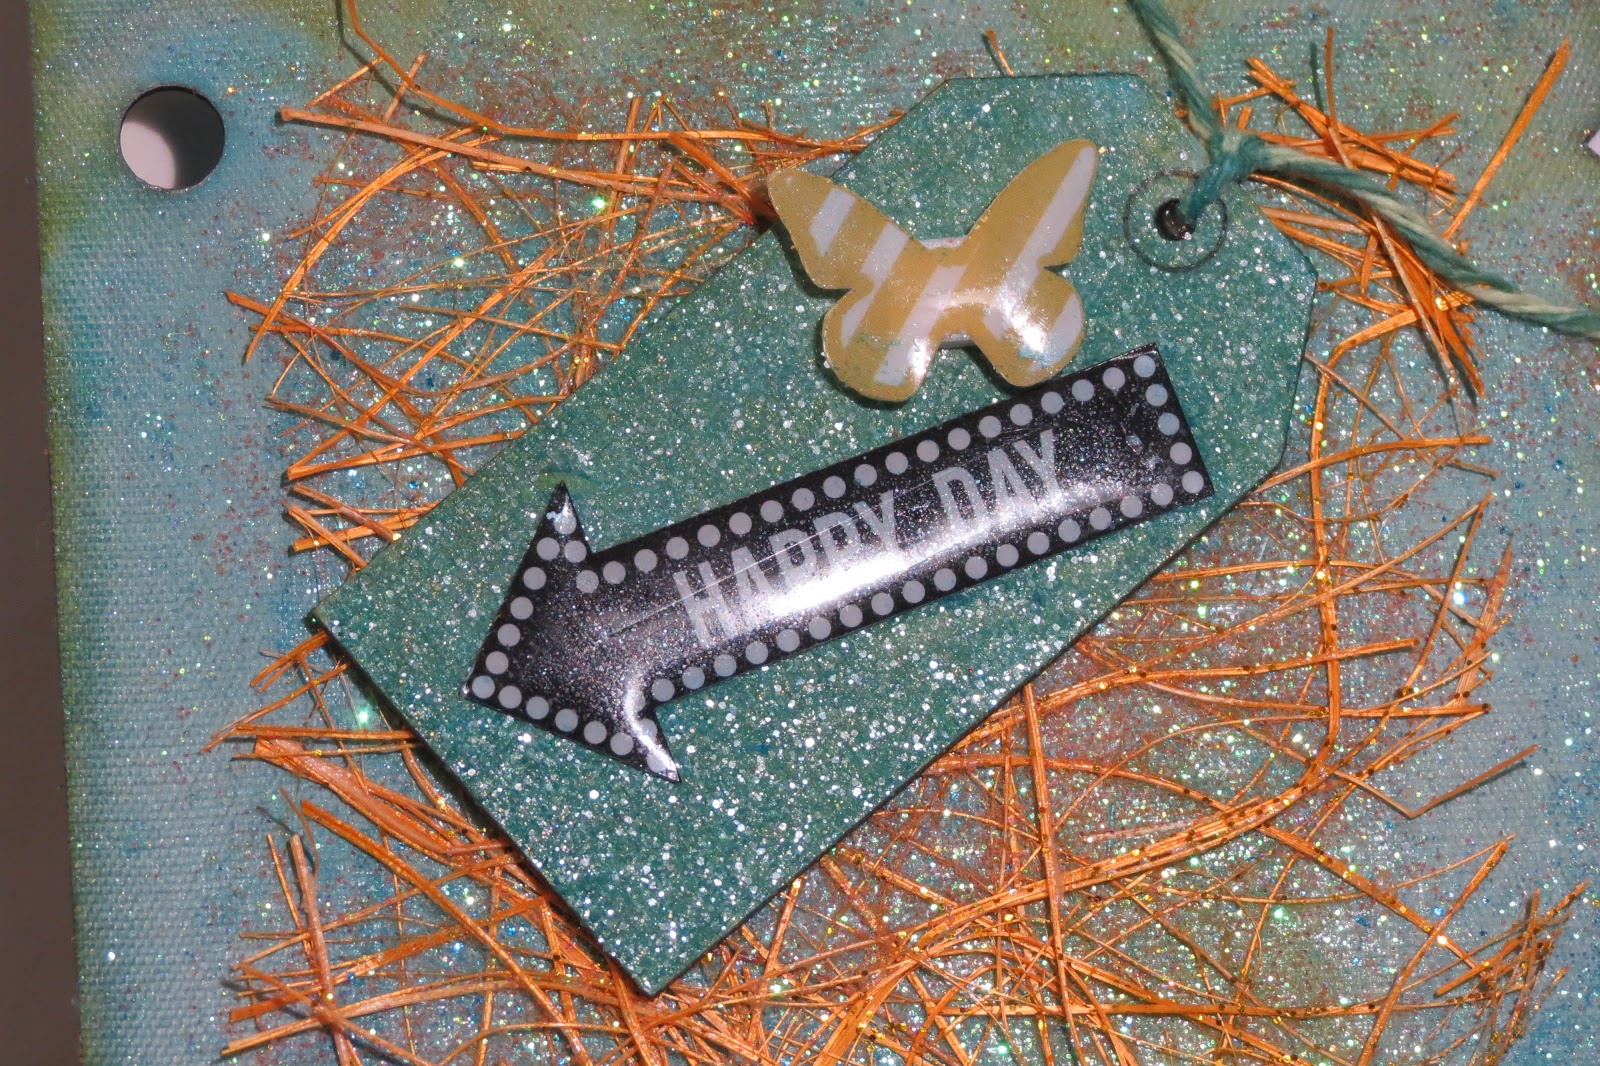
Next I took a wood tag and distressed it.


Use your fingers to blend the paint. This gives it a great patina.

Then I used Glue and Seal and dry glitter Rock Candy. When dry, spray with Glimmer Mist. Looks like glass.

This is the background for a word sticker. Glimmer Mist was getting  low and I couldn't get it to spray so I pored some on my mat and use ribbon to drop spots on the paper.

Last summer I went to Scrapbook Expo, and I got the orange fibrous mat. I have know idea what it is called but it has glitter on it.


 Wood Stick Pins. And antique seem binding.


All I need is some Color Shine to go with my Color Magic, and my album will be compete.

 
Thanks for reanding and have a crafty day


Monday, March 18, 2013

Heidi Swapp Wood Album

Today I am working on  a Wood Album by Heidi Swapp. Today is a sneak peek.


I am posting the progress of my album on instagram.

You can follow at #hswoodalbum or you can follow me @undercover_sc

Saturday, March 16, 2013

Scraps I Found Saturday

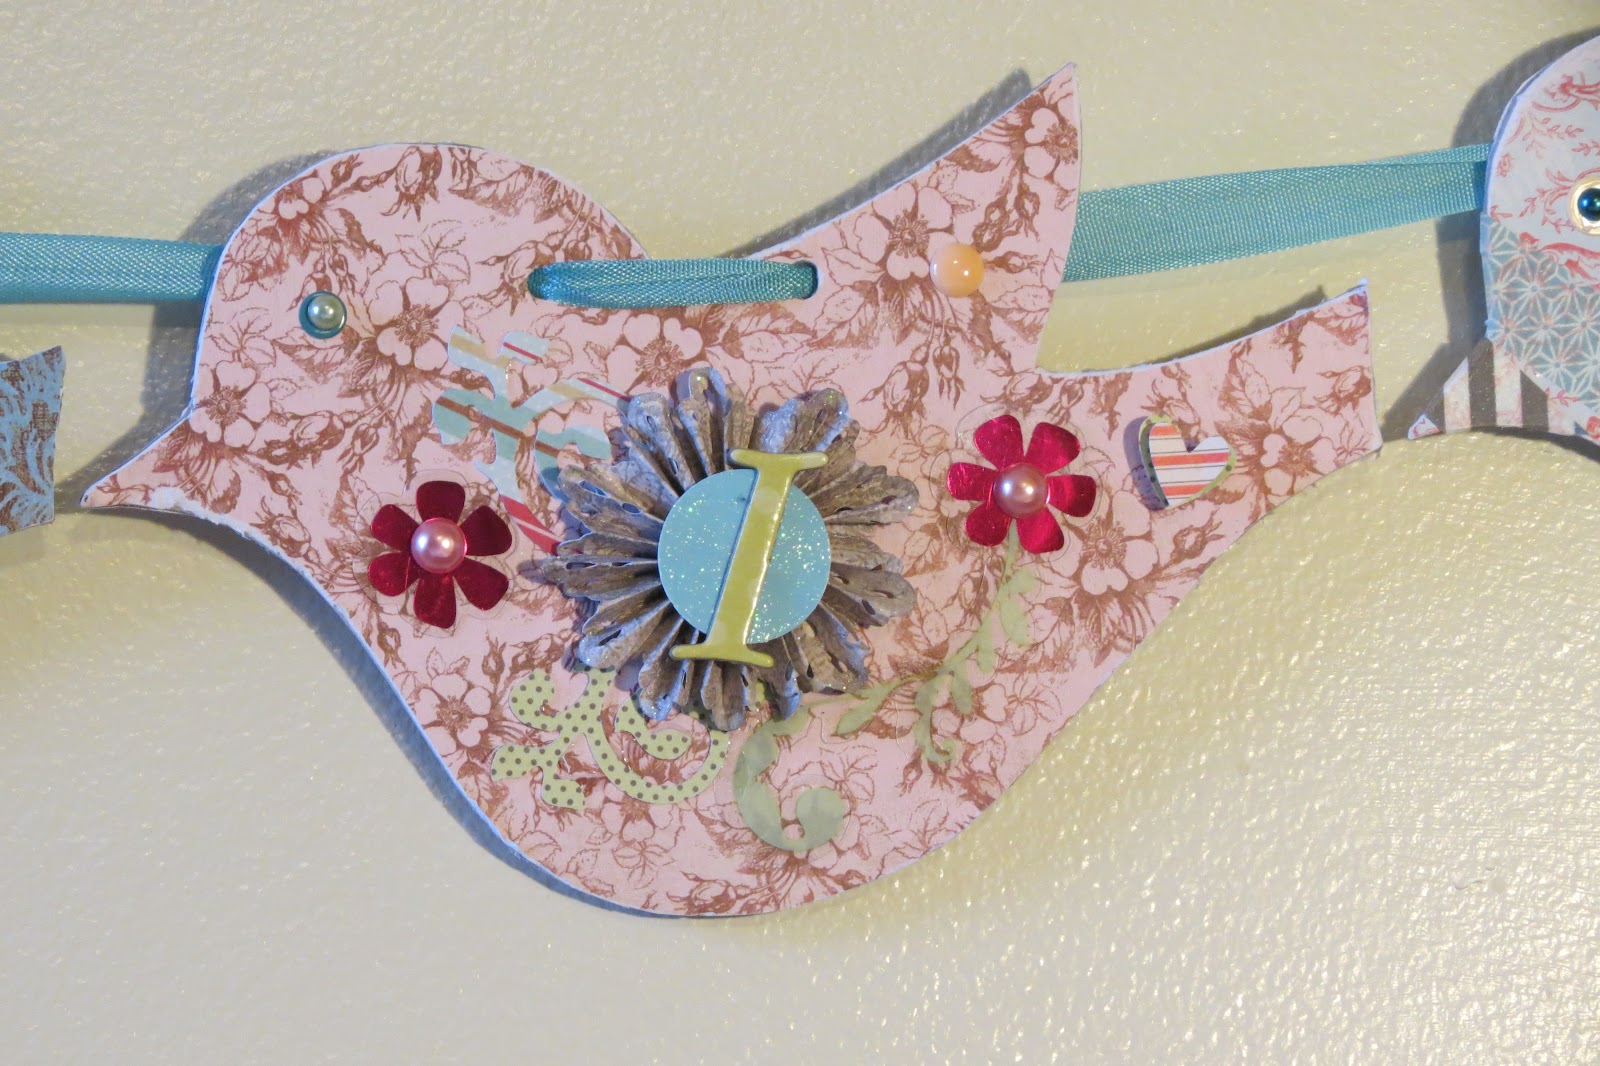
Today I made a banner out of chipboard books. Banners are the newest thing in home decor and in crafts. I used a bird chipboard book from Michael's $1 bin.

I used my crop-a-dial to punch another hole in the bird. I used my ATG adhesive to attach the paper. The paper was leftovers 8X8 paper pack. And then filed the edges to make smooth.

I used the Cricut Ribbons and Rosettes cart for the Rosette and some chipboard letters to spell the word Spring.

Add Some translucent stickers and gems.

I love the shabby chic look of this.

Put my washi tape to good use.

String antique seam binding, and top it off with a butterfly, and you have a homemade banner.

I hope I gave you a good idea on what to do with your chipboard books.

Thanks for reading and have a crafty day.


Tuesday, March 12, 2013

Callenge Tuesday


                                Welcome to the world Conner Ray!!!!!

I used Ruby Rock-It paper line, Mother Nature for this layout. I will be entering it in their March Sketch Layout Challenge. You can find that Here
Conner was having a BIG yawn, but when I developed the pic he looked like he was singing his heart out. The Harmony paper from Mother Nature worked out perfect for this.
 
Sweetheart is cut from the paisley Cricut cart and cut at 4". And some glitter.
I used Mother Nature Card Stock Stickers and Die cut Tags for embellishments. I used a 1" and a 1/2" circle punch. and punched out some stickers and tags and layered them in a bottle cap embellishment. I added Glossy Accents to the bird cage to make it look like a button.
The birdcage  paper is a light blue embossed paper that I distressed with Tim Holtz Ink Stormy Sky.
The bird is a chipboard shape from Michael's and was only $1 for a bag of 20. A little snow cap paint and broken china stain and ink, and you have a blue bird.
 
Thanks for reading and have a crafty day 
 

Monday, March 11, 2013

New Layout for Trendy Twine

After I finished my card for the Trendy Twine challenge I realised the card had to be all green. So I can't turn it in, and that bothered me. I need to send something in. Digging in my supplies I found a pack of green paper and matching embellishments from Mon Ami Gabby (Scrapbook Expo) Perfect for a Layout!


Twine It Up Challenge

 
I used the Spring Cricut Cart for this layout. Spring was cut at 2", Doily's cut at 2" and Grass was cut at 4"
 
I wrapped Twisted Lime Twine around the butterflies to make their body and antenna. Also I used translucent water splash stickers for the top of the antennae.
 
 
Twisted Lime Twine as the vine for the magic clovers to grow on.
Thanks for reading and have a crafty day.